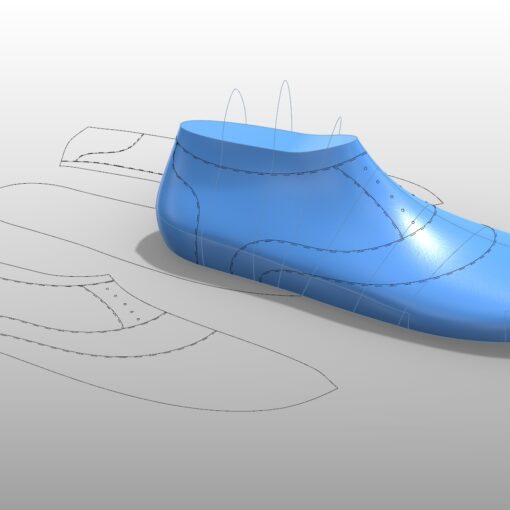
Some types of footwear, moccasins in particular, tend to be made on shoe lasts with a crease or edge along the top of the toe box. While it might not be immediately intuitive, this edge can actually be designed with all of the shoe last design templates currently available for 3DShoemaker.
Basically, you just need to reduce the radius on the toe wall cross sections as well as on the toe profile. When the radii get small enough, a crease forms on the toe box wall.
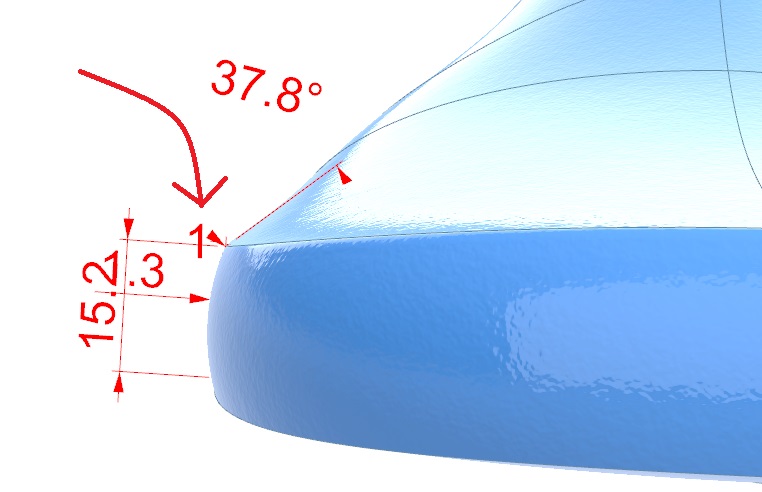
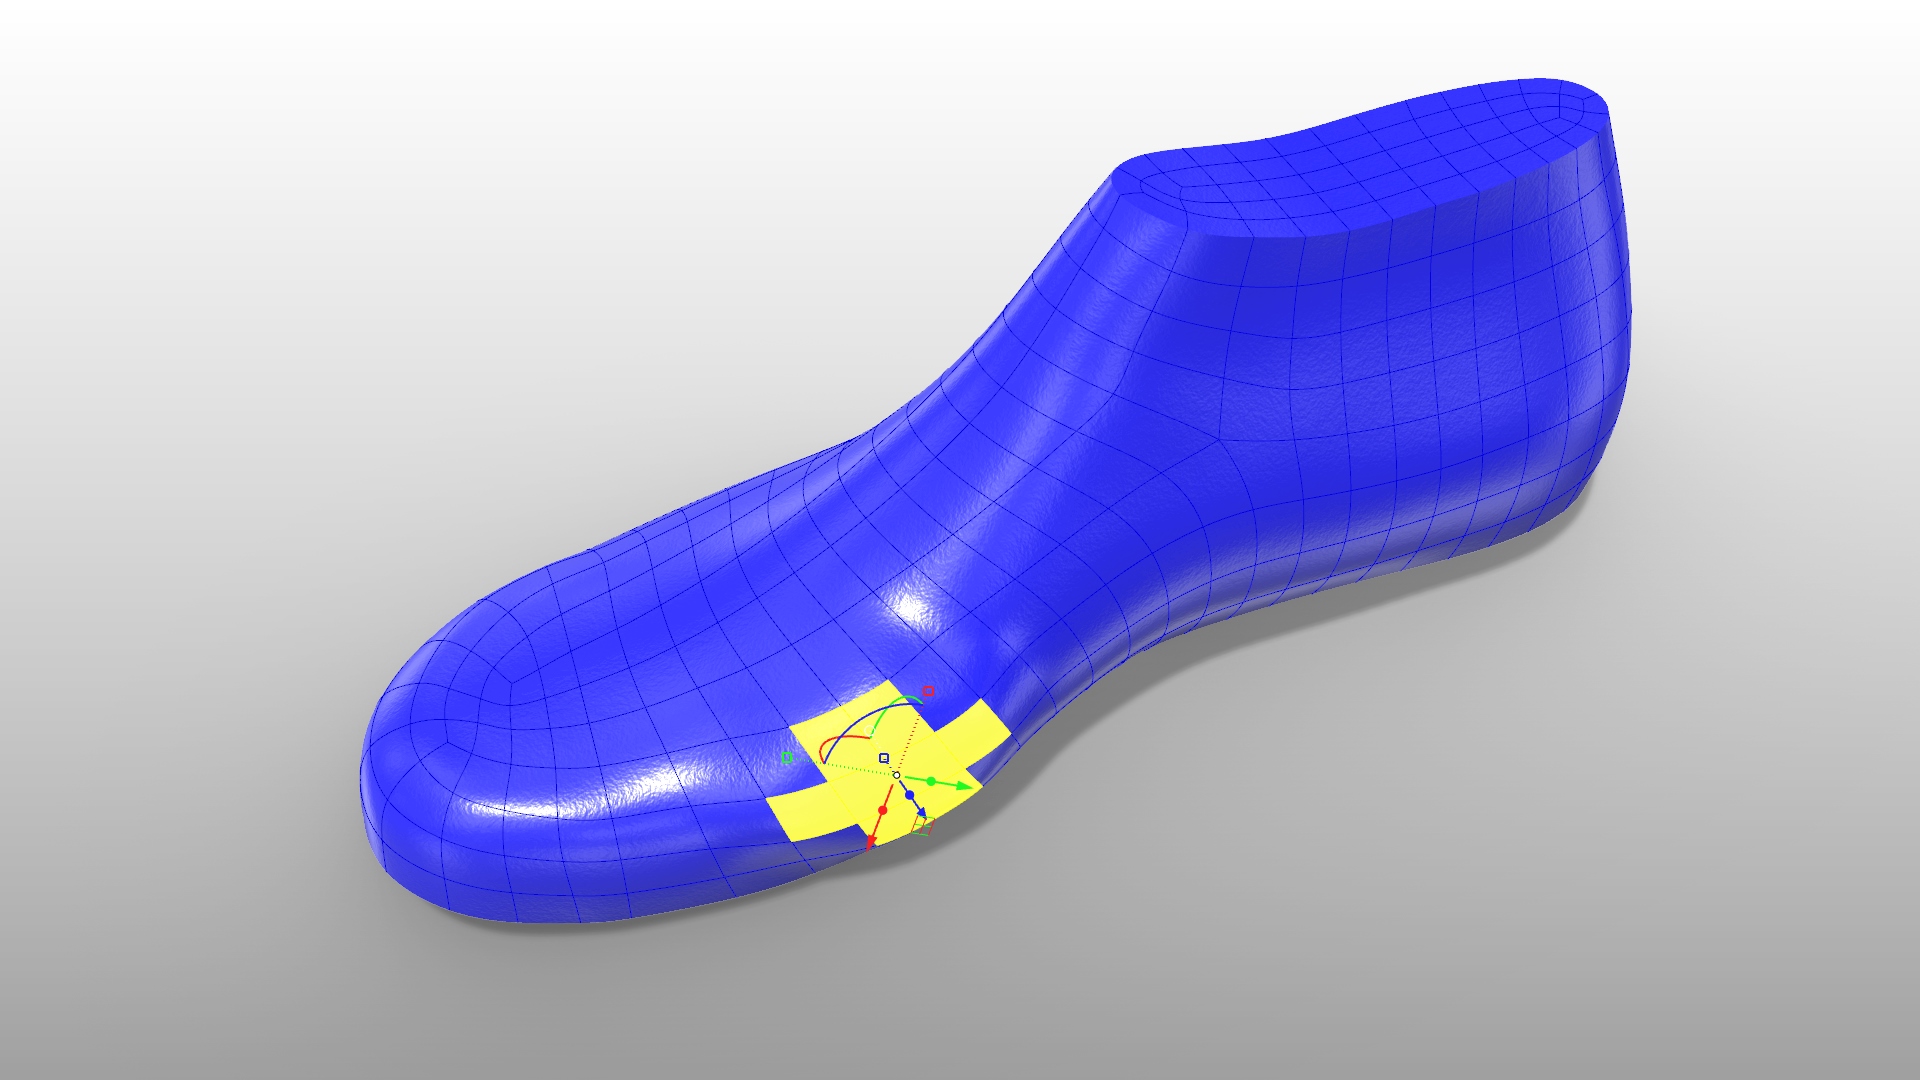
One issue you’ll likely notice is that the position of the crease may not be ideal behind the toe cross section curves as it blends into the smooth body of the shoe last. To fix this, you’ll need to adjust the position of the surfacing curves.
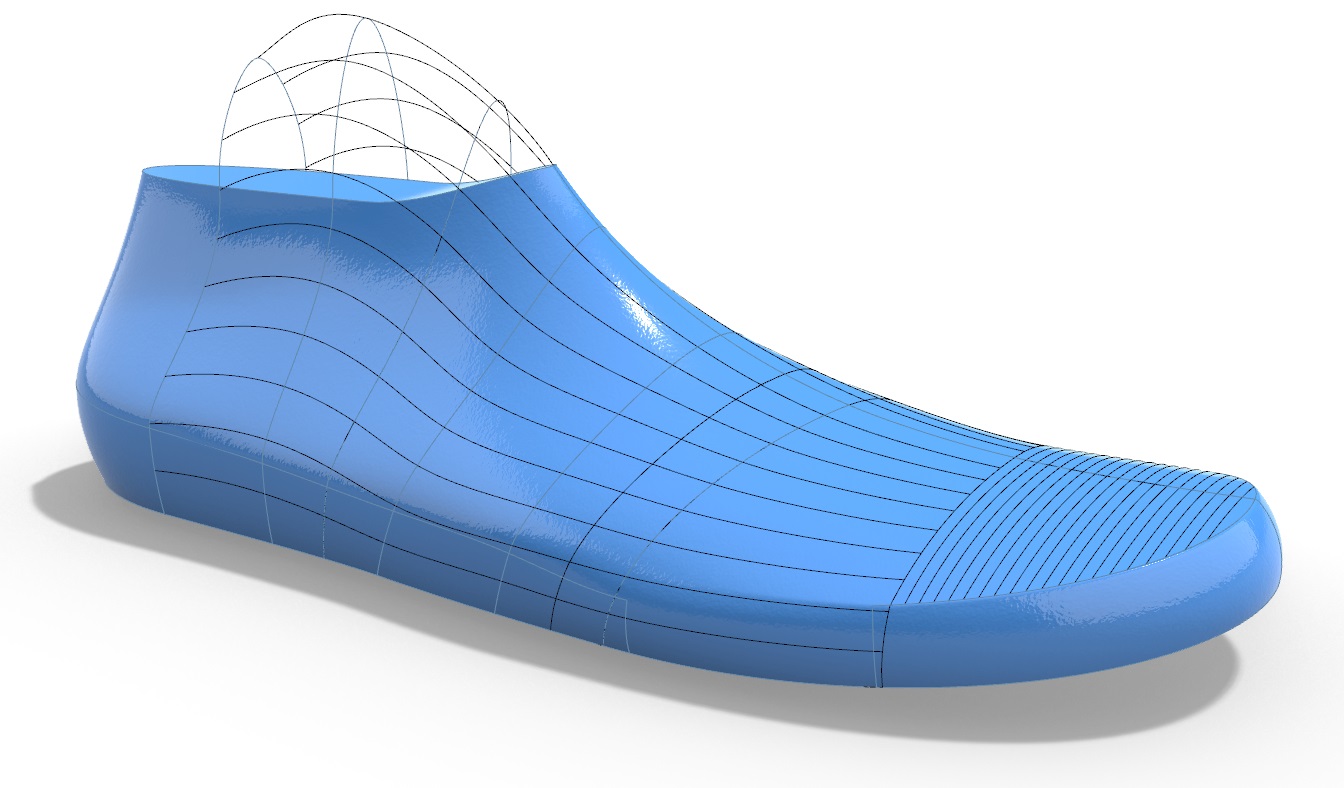
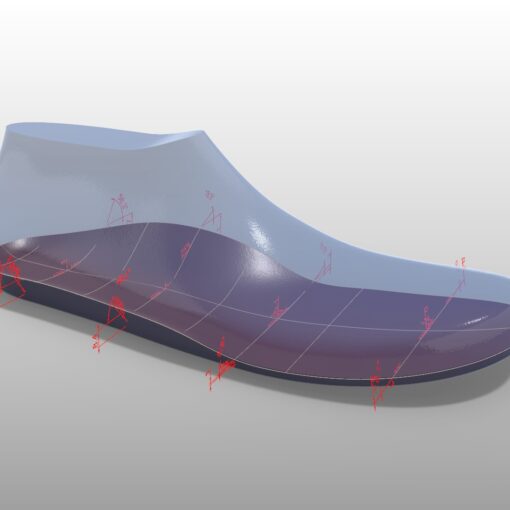
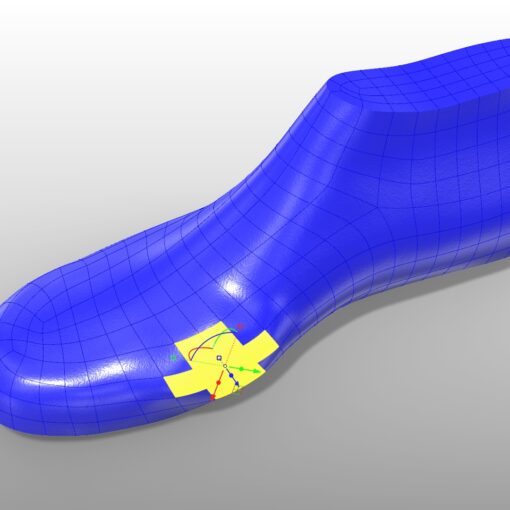
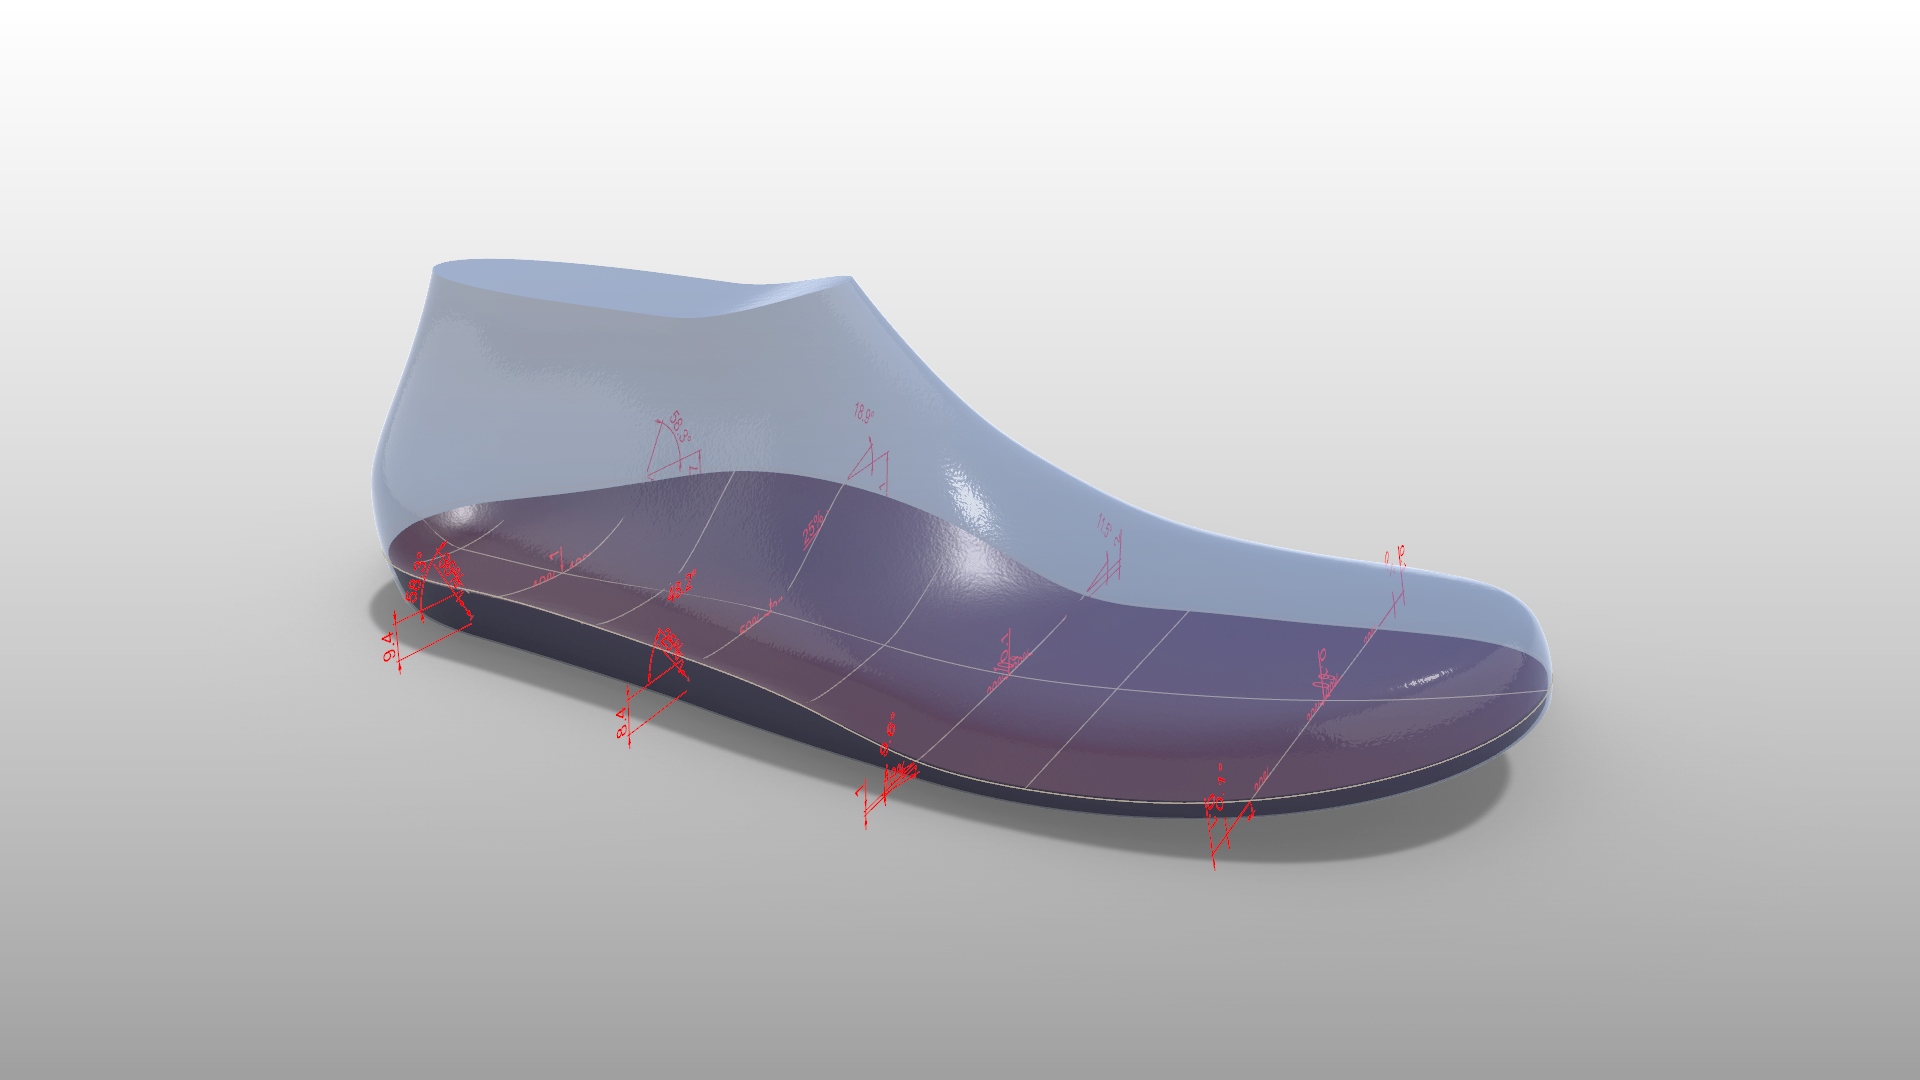
Surfacing curves can be turned on in the options form (make sure to hit “Rebuild” after closing the options form). When you study the surfacing curves closely, you’ll start to see how they guide the position of the crease. If you want to change the position of the surfacing curves, you can do this via the “Adjust” drop down in the side panel. You’ll be asked which index on the medial and lateral sides to adjust (0 index is the bottom surfacing curve) and by what percentage of the ball girth to move it. The adjacent surfacing curves will be adjusted proportionally to ensure a smooth distribution of shoe last surfacing curves.
These adjustments to the surfacing curve positions are stored with the saved shoe last file. So when you want to use it as a template for a new shoe last you are designing, you’ll get a nicely blended crease from the start.