3DShoemaker can be used to develop shoe lasts for making custom and bespoke footwear. The first step in designing such lasts is to import a foot model. In this post I’ll explain how to do this, specifically for full 3D foot models. The video below covers the same topic.
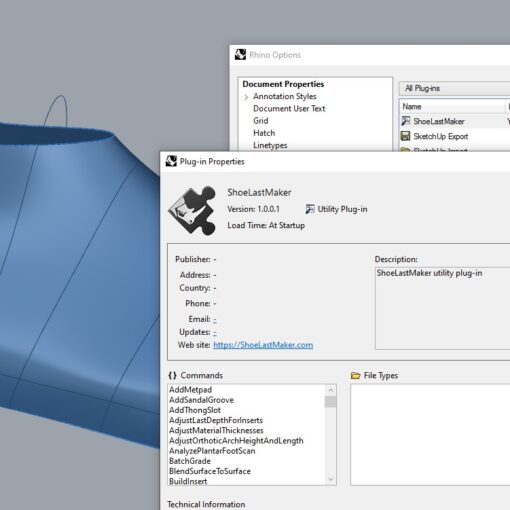
For best results, please make sure you have the latest version of 3DShoemaker (V1.002 at time of writing).
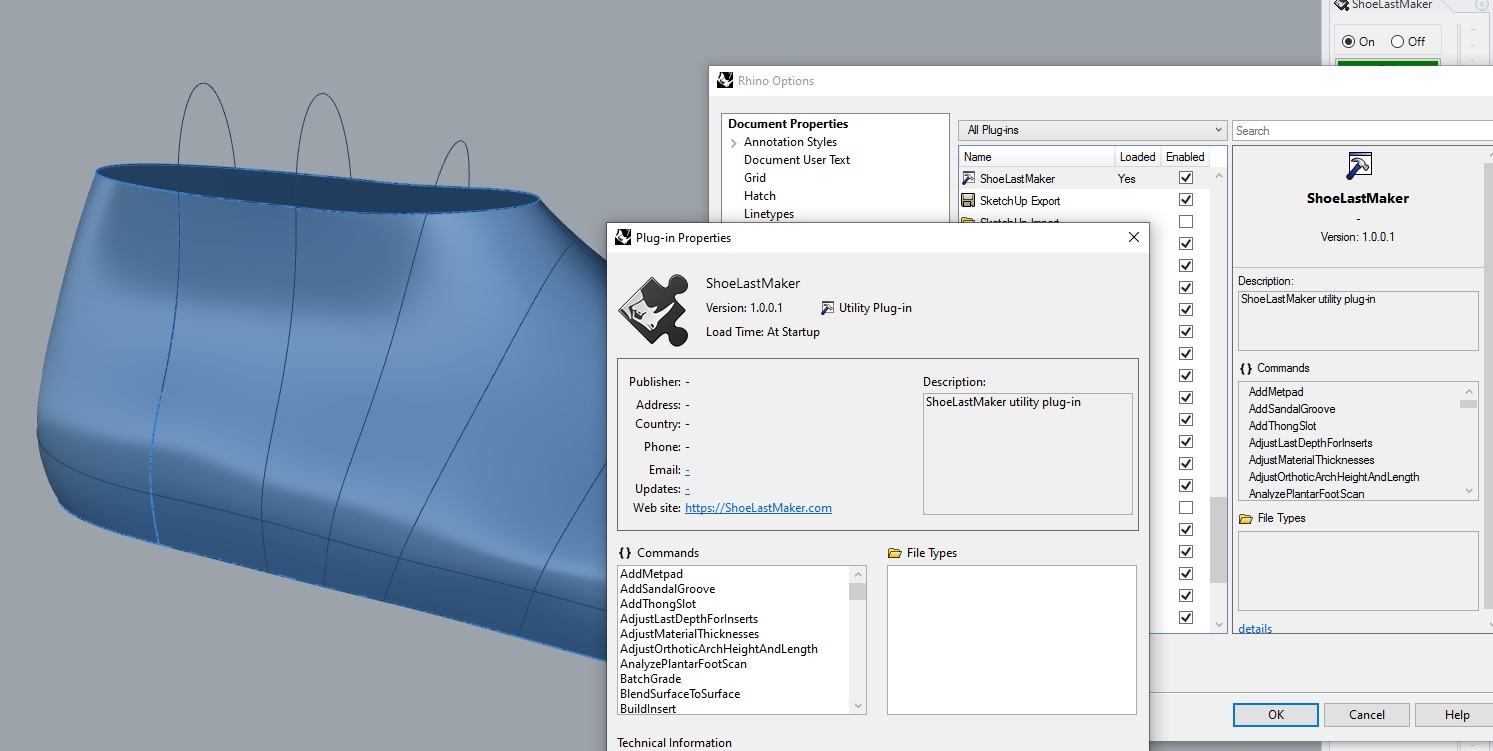
3DShoemaker can accept stl and other common mesh formats (make sure it is a actual mesh file, and not a mesh in a 3DM rhino file). Before starting the import, you’ll want to make sure the plantar surface of the foot lies on a plane that is parallel to the XY plane (eventually 3DShoemaker will be able to handle other orientations and foot postures). When you are ready to import, click the ‘Import Foot’ button. You’ll then be asked if it is a plantar scan (meaning the dorsal surface is missing). In this case, it is not. Next you’ll select whether it is a right or left foot, and then whether or not you would like to reduce the mesh vertice count (high density meshes can be slow to work with). Up next is the inputting of various landmarks:
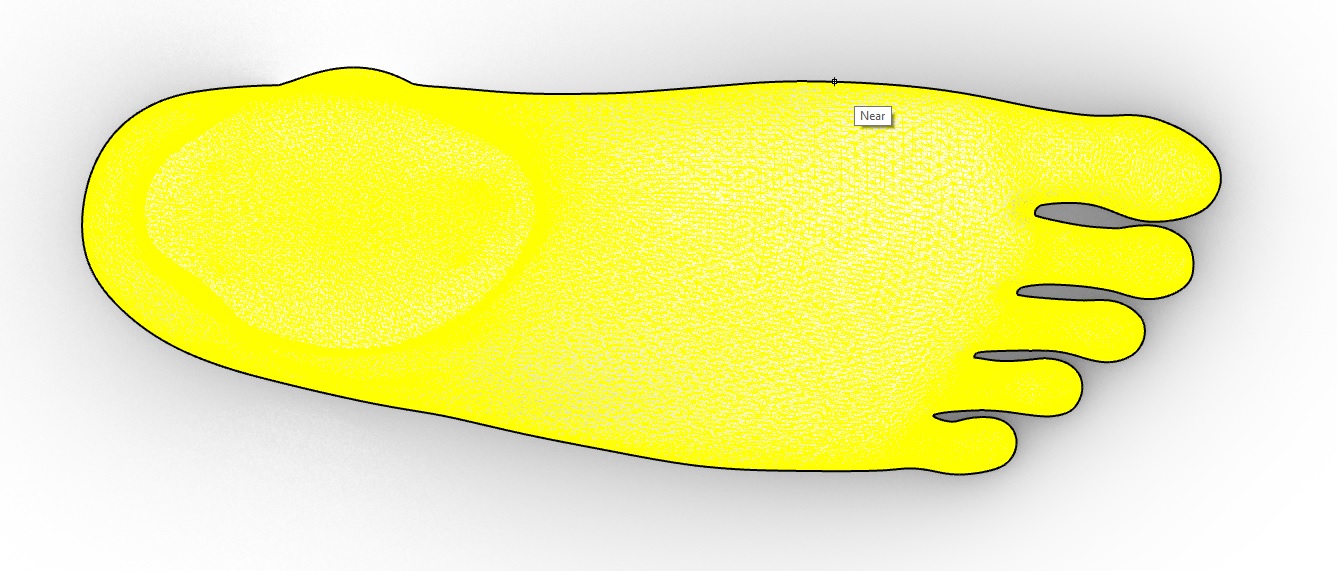
All of the landmarks listed above, except for the base of the second toe, should be selected by clicking on the outline of the foot provided. It helps to zoom way in as Rhino can be a bit finicky here.
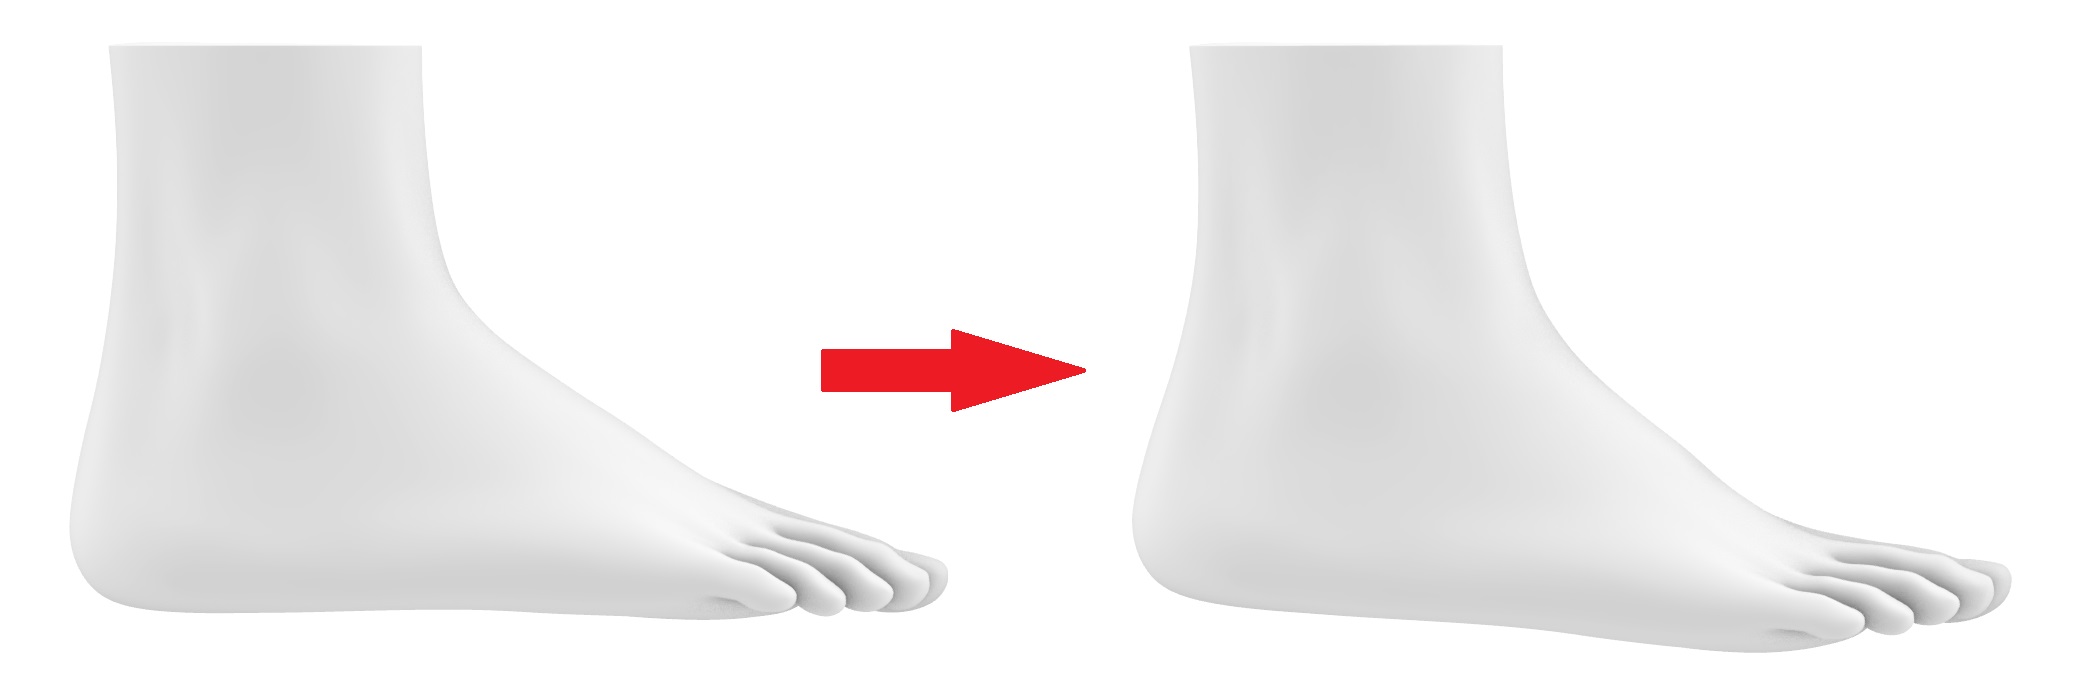
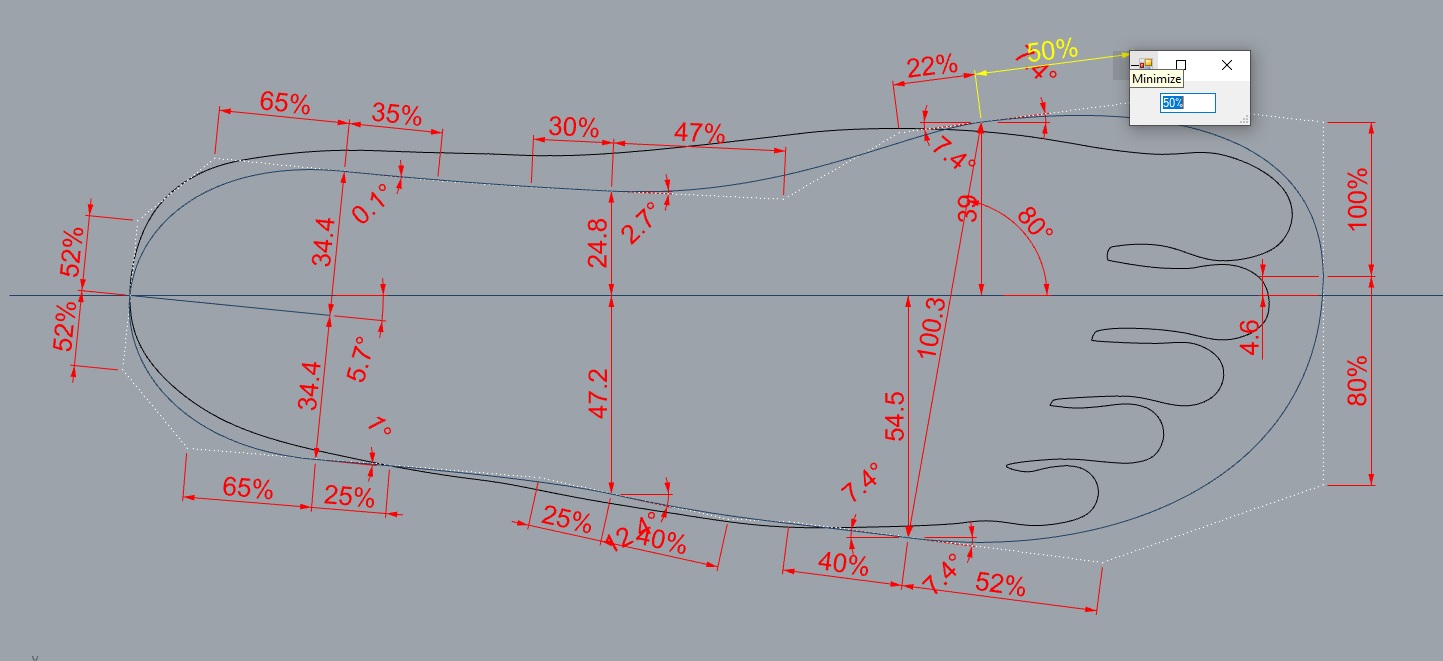
With the foot imported, the next step is to make any necessary adjustments to the foot measurements and posture. To do this, click the edit button and click the foot and press enter or right click. A form with foot measurements comes up. You can change any of the foot measurements that were calculated. For instance, you might want to change the ball girth if you felt that a measurement you made with a tailor tape was preferential for one reason or another. The posture of the foot can also be changed by putting in values for the heel height and toe spring. These adjustments will be made to the foot model after clicking the done button.
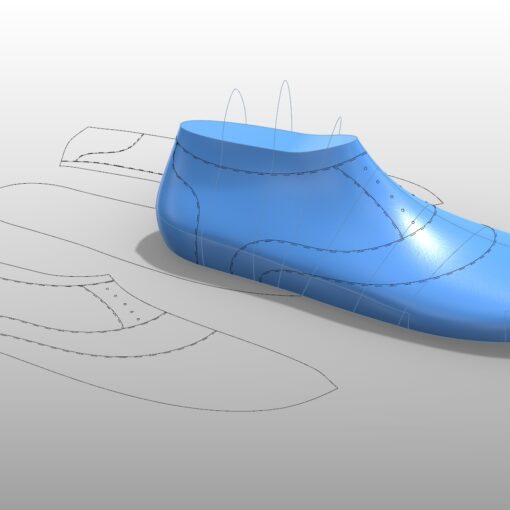
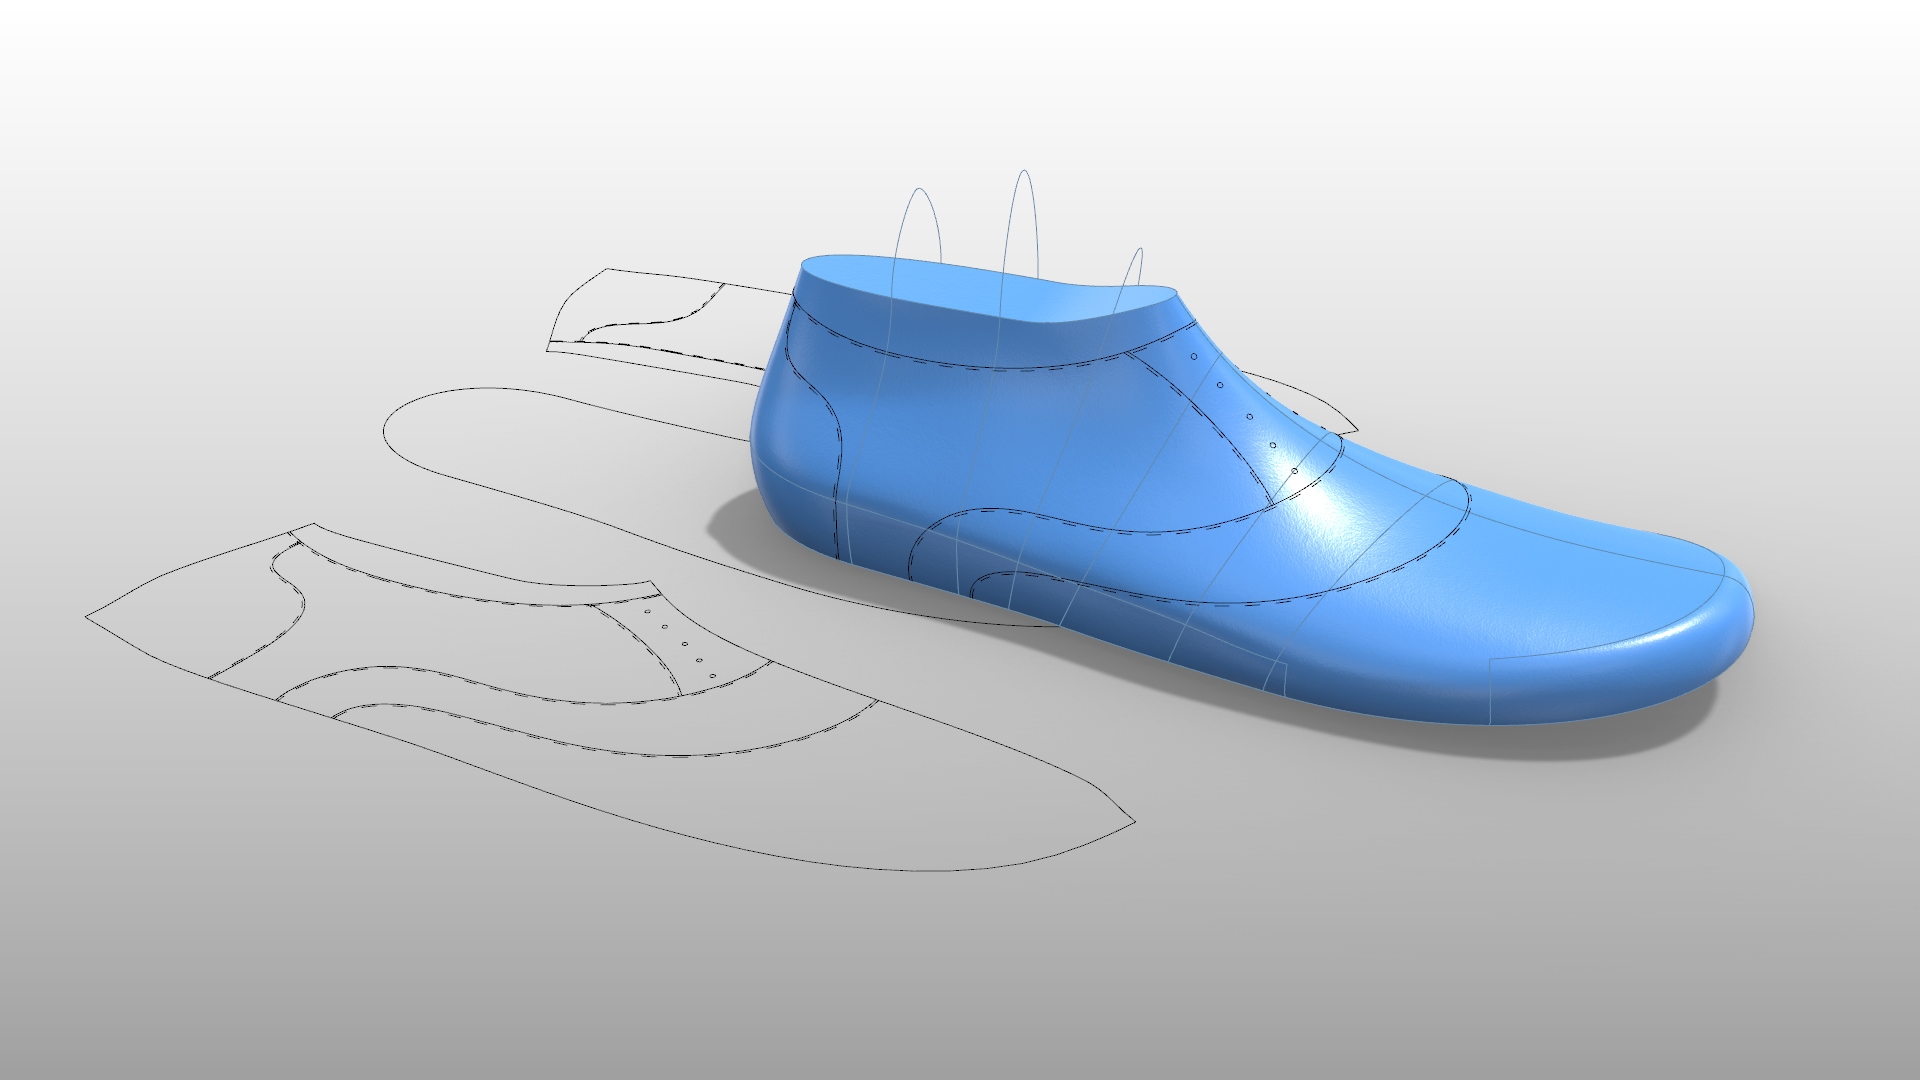
Now, to build a shoe last, click the Build button. The foot measurements will be automatically populated and the shoe last measurements will be calculated as foot measurements plus allowances (click the allowances button to toggle view of them and make adjustments). When you are satisfied, click the Build button.
The shoe last that gets built will have primary measurements that should be suitable for the foot in the session. You’ll likely still want to make finer adjustments. For instance, you can add extra space to the toe box if necessary. These adjustments can be made parametrically by clicking the ‘Edit’ button, choosing a curve, and adjusting the various parameters. An alternate approach would be to use Rhino’s built in free form deformation (CageEdit). Note though that the parametric definitions will not be updated to reflect any deformations done in this way.
Over time, you’ll develop a library of templates to fit a variety of foot types. So the next time you come across a similar foot type, you can start right off with an appropriate template to save you time.
In another post I’ll get into working with 2D foot scans or tracings in 3DShoemaker.