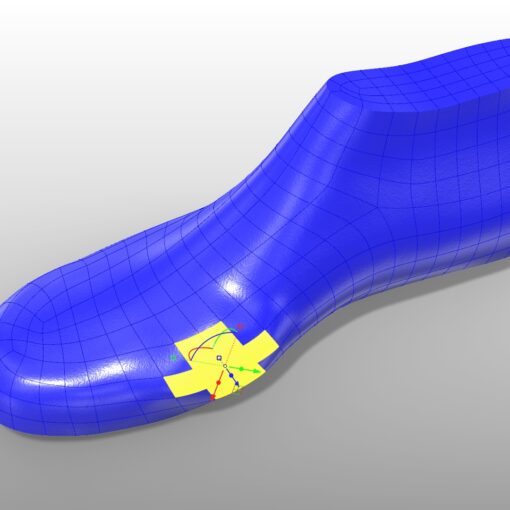
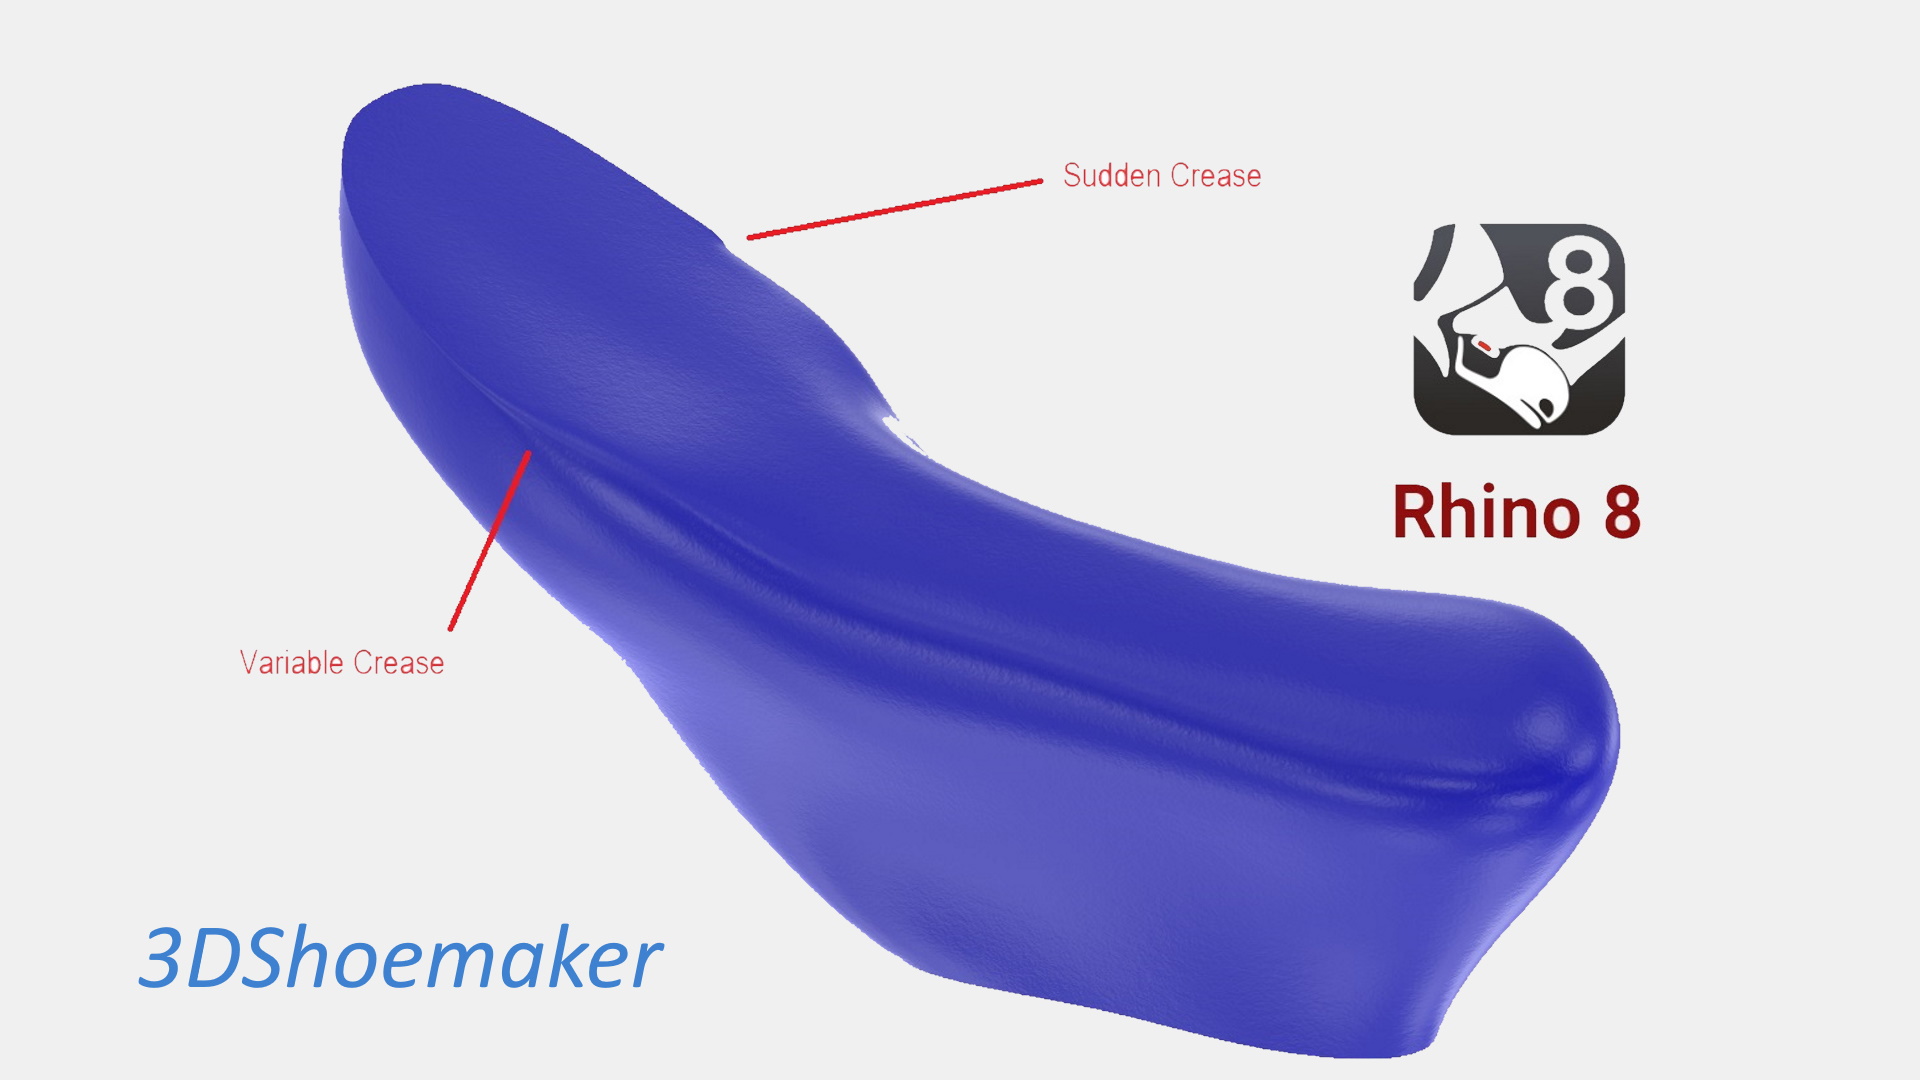
By default, 3DShoemaker runs with the viewport in shaded mode. This works fine. But if you want to make things much prettier, you can use Rhino’s built in rendering system, which happens to be very capable. Previously you would have had to do this via Rhino’s functionality directly. But in the latest version of 3DShoemaker (1.006 at the time of writing this), there is a setting in the options form to turn it on, along with some nice extras like sunshine and a bump map. And you can also set the shoe last material to be partially transparent, so you can see where the foot is inside the last when designing bespoke shoe lasts.
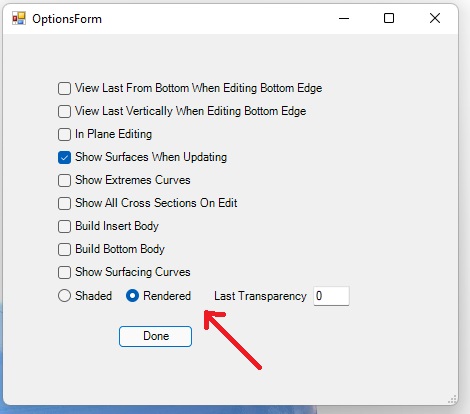
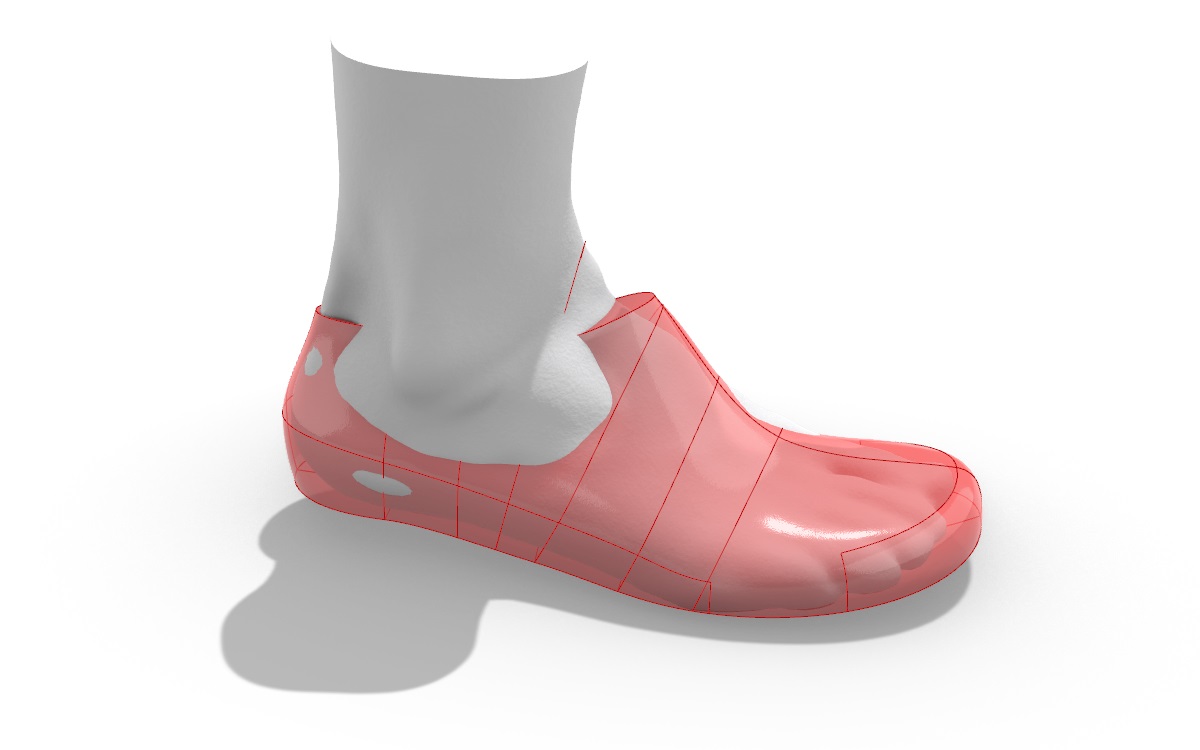
One thing I decided to leave out of the 3DShoemaker default rendering was the ability to set rendering environments. You can always do this yourself within Rhino via the rendering tab. I’m using the RISD library for reflection environment in the image below.

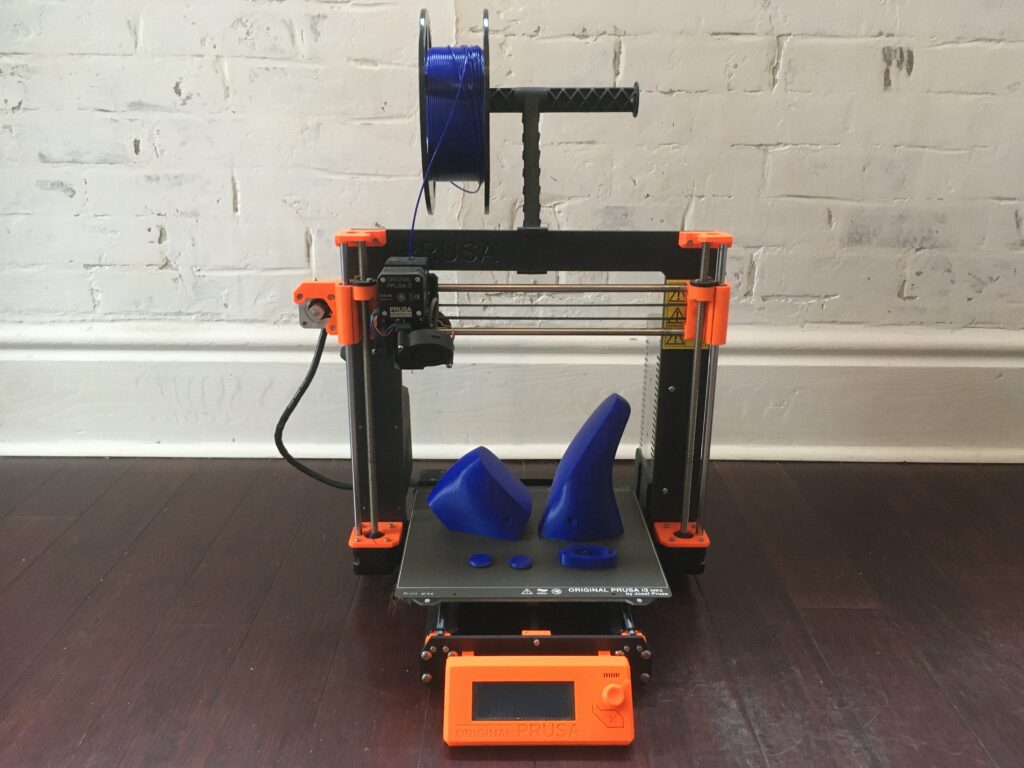
Please do note though that you need a fairly competent computer to be able to smoothly operate 3DShoemaker in rendered mode. I recently upgraded from a seven year old computer to a Dell XPS desktop with 32gb RAM, i7 11700k processor, Nvidia GeForce RTX 3060, and solid state drive. This isn’t the state of the art, but it was good bang for the buck and does a fine job running Rhino 7 and 3DShoemaker.
I liked the rendered mode so much that I decided to redo a couple of the early tutorials (I also got a less staticky microphone). These videos also show various other updates in the latest versions of 3DShoemaker.