While a parametric approach to shoe last design has numerous advantages, it can make it challenging to achieve a smooth shoe last surface. In this tutorial I’ll cover some basic techniques for
achieving a smooth shoe last surface in 3DShoemaker.
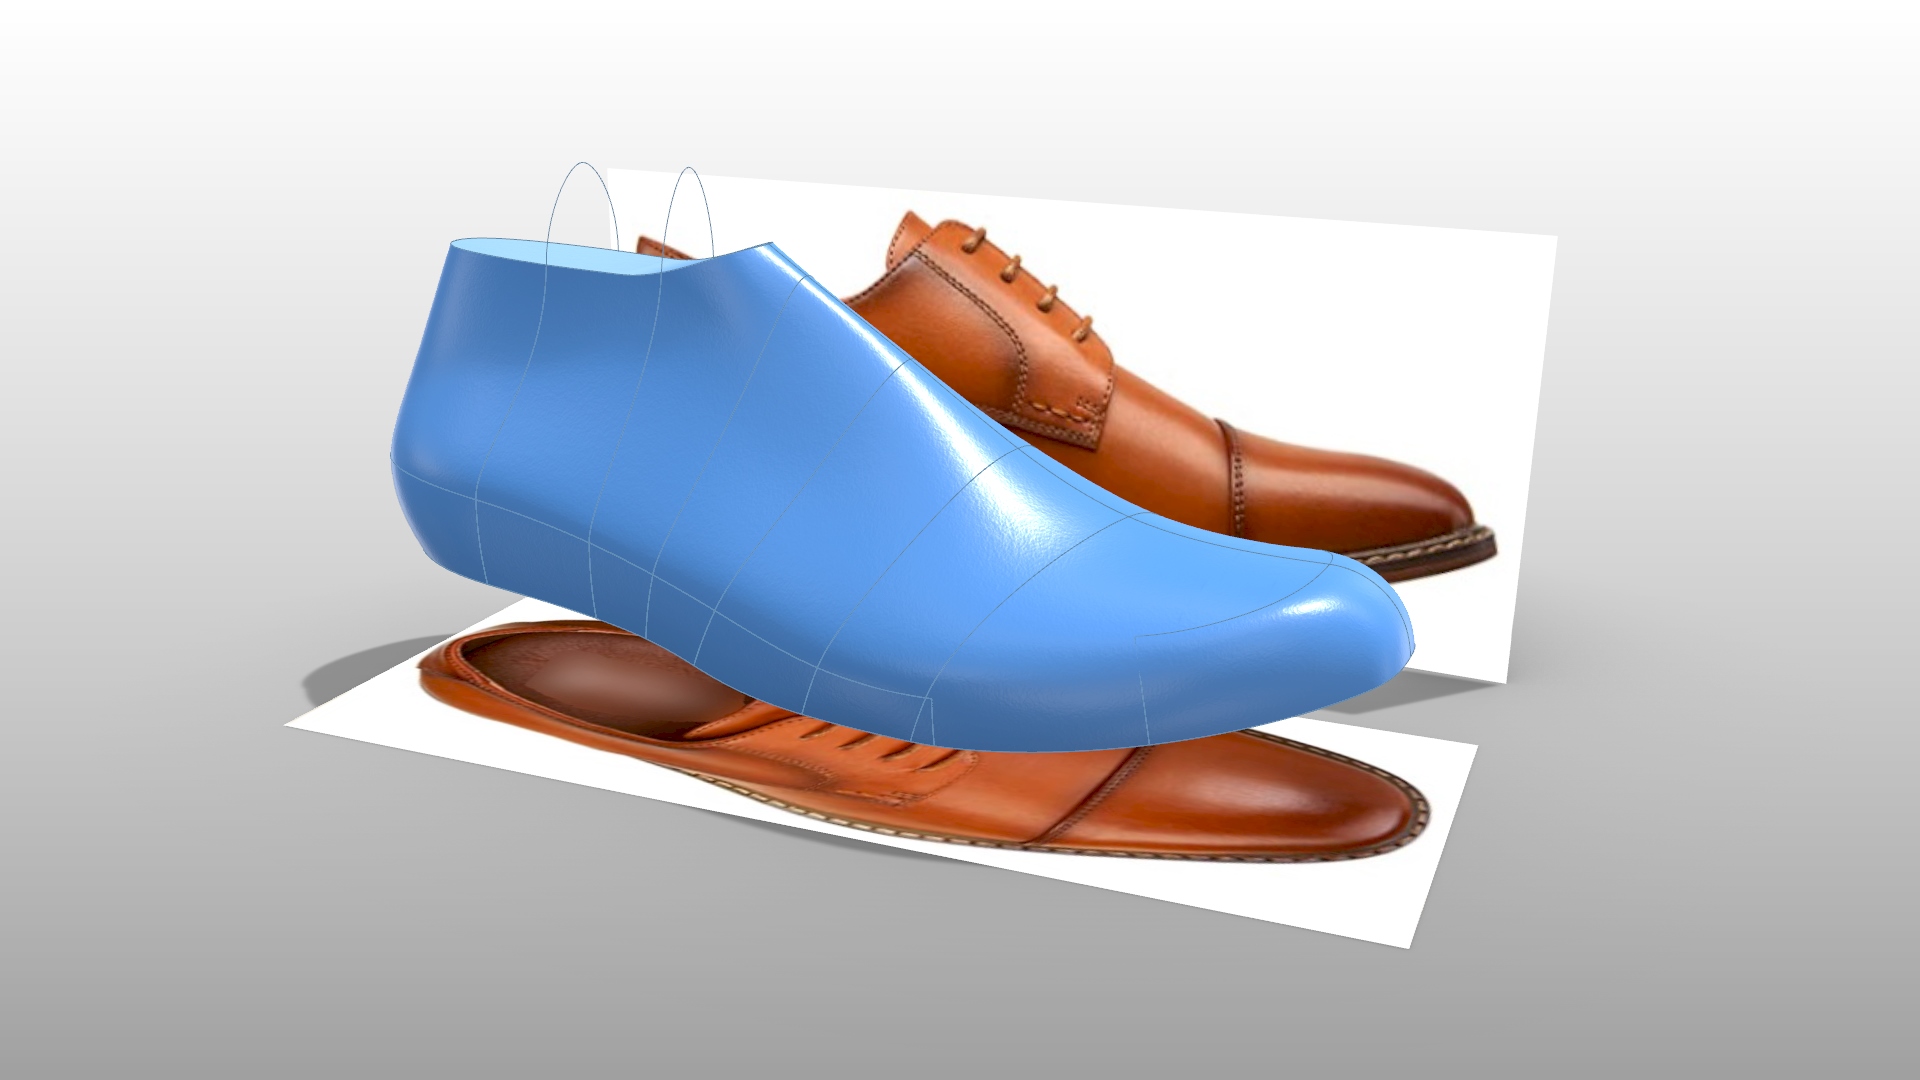
The corresponding video for this tutorial uses the shoe last from the previous tutorial on references footwear images as an example. The many design changes to the template shoe last caused some issues. Mainly, the cap on the heel and arch cross section curves became too high relative to the girth cross sections. And due to the surfacing approach used in 3DShoemaker (I’ll talk more about this in another tutorial), the cone was affected. The solution was to adjust the height of the caps on these curves.
Beyond that, the required changes were, in essence, to add or subtract material in various places. This is the less intuitive part of doing shoe last design parametrically. If you were working by hand, you would be sanding or laying up material. And if you were working with other programs, you would be using digital implementations of physical techniques. But then you have no record of exactly what had been done. And you’ll be going through the same process again and again. Hence the parametric approach.
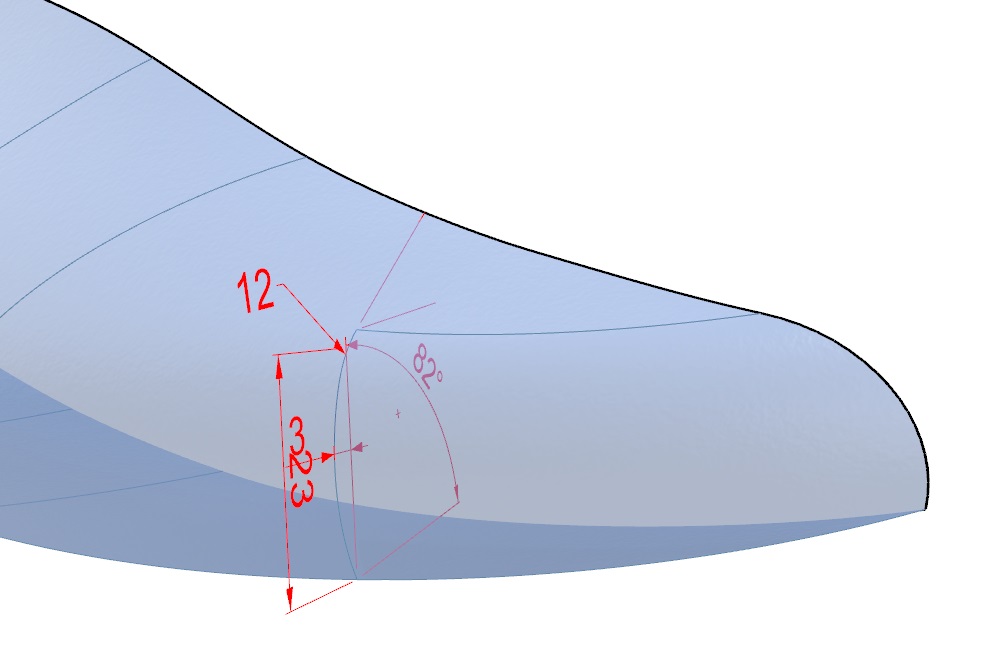
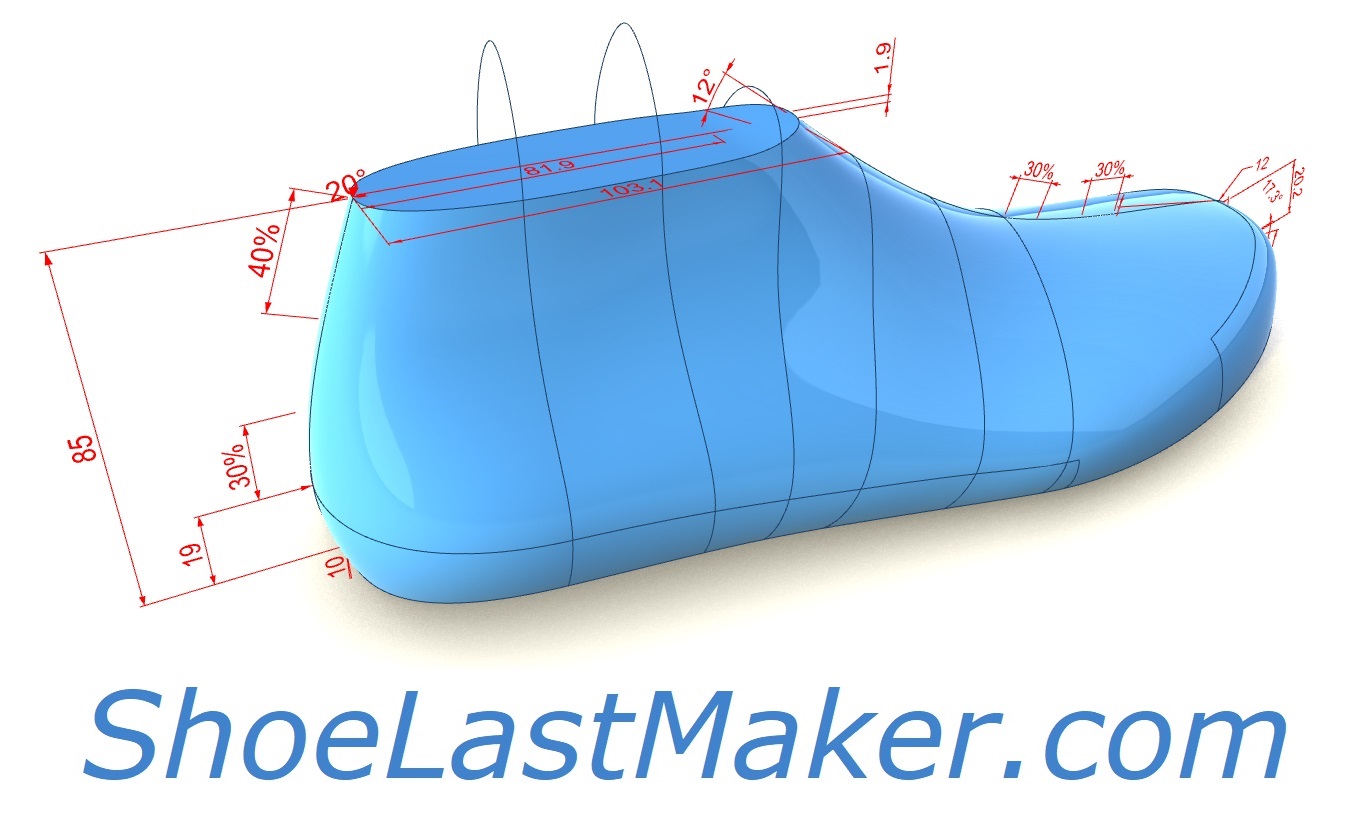
An example in the video of adding material to the shoe last is to increase the height of the medial and lateral toe wall curves. You’ll know if you’ve adjusted it enough by analyzing the smoothness of the surface. This can be simply done by looking at the shoe last from different views. A more critical approach is to turn on clipping planes to see a variety of cross sections. And a couple options that can help are ‘Show Surfaces when Updating’ and settings some degree of ‘Shoe Last Transparency’. And of course there are tools in Rhino for analyzing surface smoothness and continuity too.
Something I forgot to look at in the video was the body wall curve. This can be edited from the top and sides. From the editing screen, all of the quadrants from the various cross section views can be edited simultaneously. A smooth body wall curve is critical to achieving a smooth shoe last surface. The same is true for the toe wall curve.
Achieving a smooth shoe last surface is something that you get much better at with practice. And much of the parameterization can be reused for new shoe last templates. This is paraticularly true for the body parameterization, which may not change at all between many different shoe lasts.
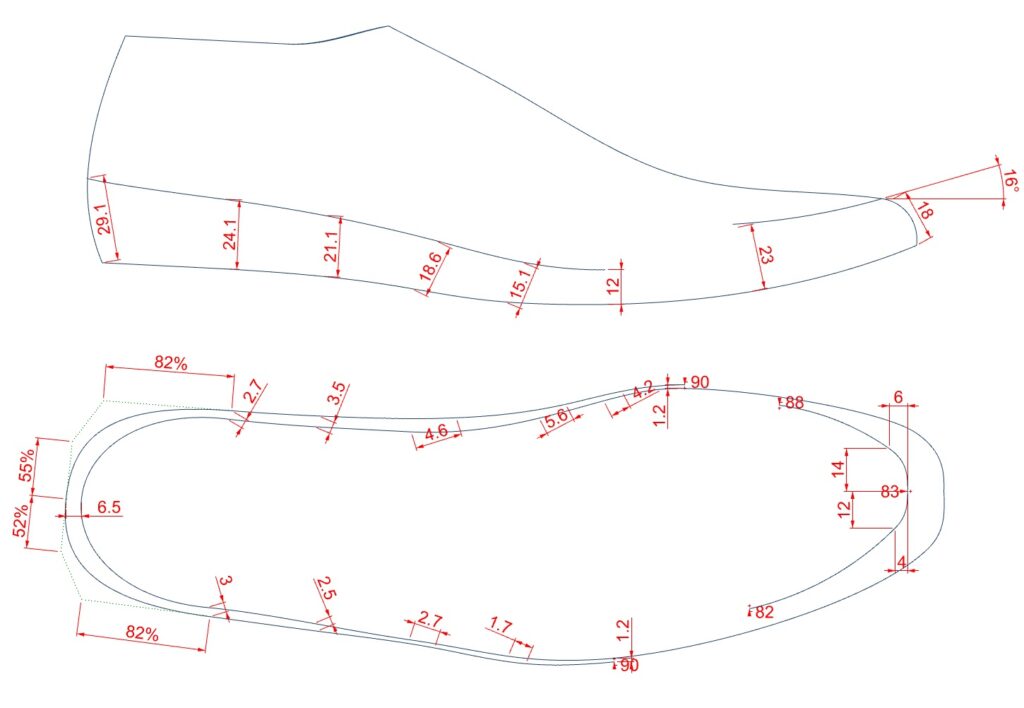
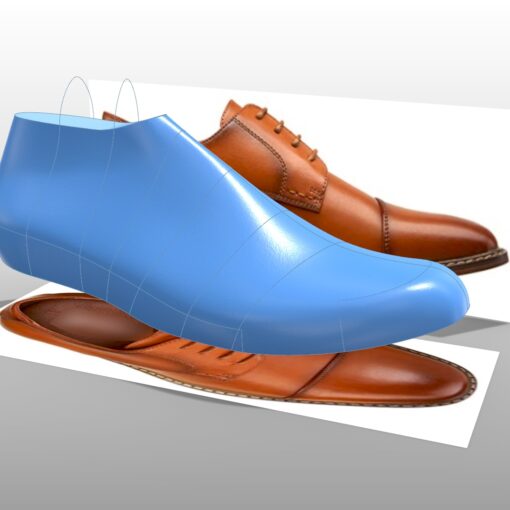
As I mention in the video, you can only gleam so much information from 2D images. Some of the design is left up to the imagination of the shoe last designer. So you may or may not agree with the final shoe last design I’ve come up with.
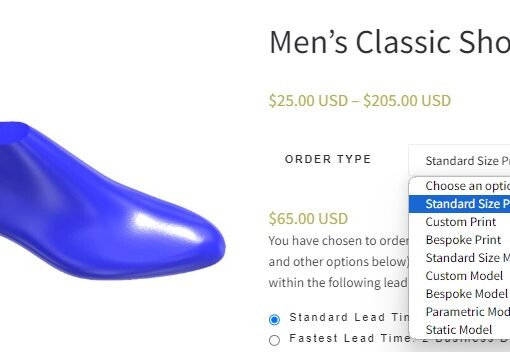
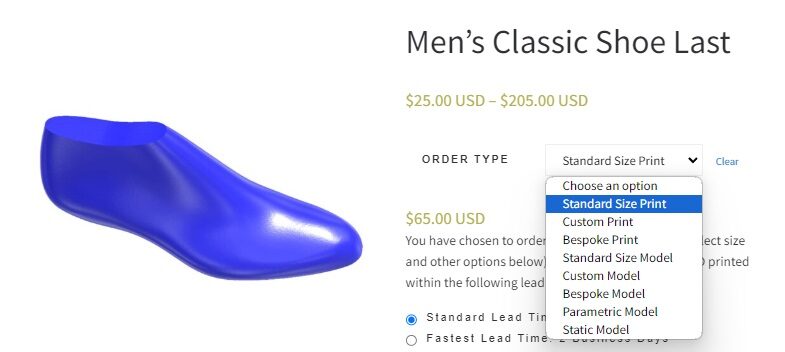
Here is a link to the final design: Men’s Oxford Shoe Last.